Molly potatoes have attractive characteristics for cultivation in the Central region. The properties of this variety and the features of agricultural technology are given below.
Appearance story
The Molly variety has been known since the beginning of the 21st century and is the result of the work of the German concern Norika (Nordring - Kartoffelzucht - und Vermehrungs - GmbH). Officially registered in the State Register in 2007
Characterization and description of the variety
This potato belongs to the group of superearly varieties, the vegetation period of which up to the first digging is 40–45 days, and the total ripening period is within 55–65 days.
Did you know? In Russian, the word "potato" came from German, where it appeared by changing the Italian word "truffle".
Its main characteristics are as follows:
- bush of medium height, semi-erect, up to spreading;
- leaves are light green and green, medium in size;
- white whisk;
- oval-shaped tuber;
- eyes are small and medium;
- the peel is smooth, yellow;
- the pulp is yellow, medium-boiled;
- the taste is good;
- commodity tuber weight 98–142 g.

The described variety retains a dense structure in a boiled form, therefore it is not recommended for making mashed potatoes, but it is great for casseroles, frying, stuffing and as an ingredient in soups and salads.
Molly shows high yields. At the first digging, it reaches 140 kg / ha, after 55 days (second digging) - up to 210 kg / ha. The maximum yield of 308 kg / ha. This potato has a marketability of 80–92% and a shelf life of 82%.
The manufacturer promises unpretentiousness to climatic conditions and resistance to the golden nematode, cancer and the Y virus. Also, average sensitivity to leaf torsion, relative to late blight, is noted. Suitable for cultivation in most regions, but for the northern regions, an exact follow of agricultural technology is necessary.
Advantages and disadvantages
- Potato Molly attracts the attention of gardeners and farmers with the following advantages:
- high productivity;
- undemanding to the soil;
- marketability of tubers;
- resistance to many diseases.
 The disadvantages of the variety include a relatively low percentage of keeping quality.
Landing rules
The most important factors affecting the yield of a variety are the choice of planting material and the proper planting of tubers.
Optimal timing
Potato planting is carried out after the threat of frost disappears, when the soil temperature at a depth of 10 cm rises to + 8 ... + 10 ° C, which approximately corresponds to the end of April-early May (depending on the region).
Important! A popular sign of the onset of the potato planting season is the opening of buds on a birch.
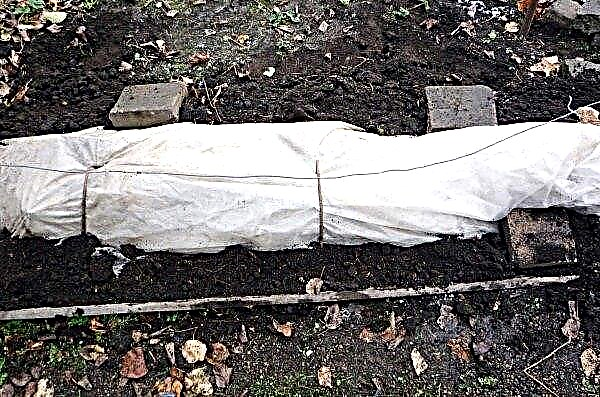
In the case of frequent return frosts, it is necessary to protect the tubers by earthing up, since the green mass of the tops grows quite quickly after frost damage. You should not postpone planting for a long time, because the formation of tubers stops at soil temperature + 28 ° C and night air at + 20 ° C.
Choosing the most suitable place
The plot for potato beds should be dry and sunny, protected from gusts of cold wind. Tubers should not be placed after tomato bushes, eggplant and bell pepper, and the best predecessors for potatoes are onions and garlic, cabbage, pumpkin and legumes.

Again, you can plant potatoes in the same place only after 3 years. The Molly variety is not demanding on the composition of the soil, but it will best grow on fertile, light soil with an acidity of 5.1–6 pH.
Preparing the soil for planting
To increase productivity by 35–40%, it is worth paying attention to increasing soil fertility.
It is optimal to carry out one of these autumn preparations:
- to plant siderat plants, which are mowed and planted in the soil to a depth of 10 cm before spring planting;
- when digging on a bayonet spade, add 15–17 g of potassium sulfate, 35–40 g of superphosphate and 7 kg of rotted manure (per m²).
Did you know? The larvae of the Colorado potato beetle eat potato leaves and digest all the pigments, with the exception of carotene, so it accumulates and gives the pests an orange color.
To reduce the likelihood of infection of tubers, the soil on the bed should be decontaminated.
There are such chemical treatment methods:
- autumn scattering of bleach (100-200 g per m²);
- spillage of land before planting with a formalin solution (take a glass of a 40% solution of the substance per 10 liters of water);
- 40-60 g of the Iprodion preparation per m² are added to each well during planting.

Biological measures of disinfection include the cultivation of white mustard as siderate, as well as the use of the preparations Fitosporin, Trichodermin, Gamair and others, according to the instructions.
Preparing planting material
Preliminary work with planting tubers can significantly increase the germination and yield of potatoes.
There are 3 main stages of preparation:
- sorting, during which all tubers are examined and only healthy specimens are selected;
- germination start by heating the tubers in a bright place at a temperature of +12 ... + 15 ° C for 2-4 weeks. If the planting dates are tight, germination can be reduced until the first shoots appear (5-6 days). During this period, treatment with growth stimulants is possible (GUMI, Planriz, and others). Then again choose the best material with strong sprouts;
- disinfection can be performed by folk remedies, for example, dressing with potassium permanganate or bathing in a solution of ash (1 kg per bucket of water). You can use "Fitosporin", complex preparations "Maxim" or "Prestige" (for the last two, you must take into account the length of the decay period).
 Some gardeners a week before planting practice cutting tubers into pieces weighing about 40 g, thus increasing the amount of planting material. Each piece should have the same number of eyes, and the cut should be sprinkled with ash.
Pattern and depth and landing distance
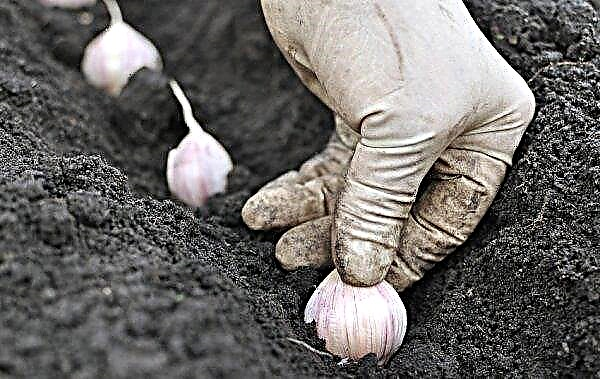
Planting Molly potatoes is performed according to the scheme 25–30 × 60–70 cm.
Depth is selected depending on the type of soil:
- on light soils, the tuber is lowered by 8-10 cm;
- for heavy soils, a depth of 5–7 cm will be sufficient.
 Potato planting scheme for ordinary beds
It is possible to plant with “ridges” when the tubers are laid out in a row on a bed, and then sprinkled on top of the ground. Another option is planting “under the straw”, in which the tubers are covered with a layer of dry straw (at least 30 cm), and they are added as they are compacted. These methods are suitable for areas with high groundwater levels.
Care Rules
An unpretentious variety will show the best yields, subject to the basic principles of care, especially relevant for the northern areas.
Watering
After the sprouts reach a height of 10 cm, the first watering is carried out. If potatoes are planted in an area with high humidity and heavy soils, additional moisture may not be needed.
 Potatoes should be watered under the root, without falling onto the tops
You can navigate by the following signs of lack of moisture:
- small stems begin to die;
- a marked decrease in growth and unopened flower buds;
- stems and leaves become light and lethargic.
In dry and hot summers on sandy soils, each bush should provide 1 liter of standing water.
To stop watering on time, you must check for the following signs of excessive moisture:
- darkening of leaves with subsequent wilting;
- decay of small tubers;
- the appearance of weeping spots and plaque at the bottom of the stem.
Loosening the soil and weeding weeds
From the very beginning, you should clean the bed of weeds and loosen the top layer of soil in the aisles. Mulching with hay, mowed grass or straw will reduce the number of weeds and reduce the evaporation of moisture from the soil.
Hilling and feeding
For the first time, hilling is performed by mass shoots after rain or watering. For this, it is necessary to heat loose soil from the row-spacing to potatoes, completely covering the seedlings.

This technique provides an early grade of protection against frost, leads to the death of a significant part of the Colorado potato beetle eggs and enhances the formation of tubers. The second time the earth is buried when the bush reaches a height of 20 cm and close it to half.
Most of the fertilizer should be applied in the fall or when planting.
Important! Spraying after night frosts can be carried out no earlier than 2-3 days later.
If such dressing has not been carried out, the plant can be fertilized in two ways:
- root dressings are introduced simultaneously with hilling. You can use a mineral mixture of nitrogen, potassium and phosphorus (in a ratio of 2: 1: 1), which is diluted at the rate of 25 g per 10 liters of water or urea solution (1 tablespoon per 10 liters of water, 500 ml per bush). Watering the aisles with a solution of bird droppings (1:10) is also suitable.
- foliar include humate spraying (2 g per 10 l, 3 l per hundred parts) every 2 weeks, nettle infusion every 10 days or urea mixture (5 g of boric acid, 100 g of urea and 150 g of potassium monophosphate are added to 5 l of water). The urea mixture is diluted 2 times for the first time, and then used without dilution.

Preventative treatment
In addition to the above techniques (crop rotation, pre-planting tillage and tubers, hilling), the following preventive measures are used:
- the use of poisoned bait to catch the bear. This pest gnaws tubers and plant roots;
- the destruction of wheatgrass significantly reduces the number of wireworms - the larva that eats tubers;
- young seedlings can be treated with 1% Bordeaux liquid;
- wood ash added during planting may, according to some reports, scare off the Colorado potato beetle.
Harvesting and storage
Young potatoes can be picked up by digging on one side, in which the tubers are sized by hand. In dry soil, after such selection, the plant should be watered. On the other hand, it will be possible to dig up the bush after a few days.
A signal of the complete formation of the crop is the drying of the tops. Tubers should be dug in sunny and dry weather, while a strong wind will help the crop dry out more quickly. If the tops have signs of late blight, before harvesting the tubers, they should be removed so that the disease does not infect the crop.
Dried potatoes for storage should be quarantined in a dark place at room temperature for 2 weeks. During this time, there will be a thickening of the peel and the healing of its damage, and signs of disease may also appear. Then the tubers are sorted, and the best specimens are lowered into the basement, and the spoiled ones are used for cooking.

In the cellar or basement, the following conditions must be provided:
- humidity 90–95%;
- temperature + 2 ... + 4 ° C;
- exhaust ventilation.
Harvest can be placed on the floor, leaving at least 50 cm of free space to the ceiling. Also, the potatoes are stacked in ventilated boxes of coniferous wood and sprinkled with dry coniferous sawdust (to prevent the development of fungal diseases).
If you decide to store tubers in bags, you should use bags made of natural fibers that pass air well. For better preservation, potato stocks are periodically sorted out.Molly potatoes can be recommended for cultivation, both for beginner gardeners and experienced farmers. Features of the variety allow you to get an early harvest of tasty and marketable tubers.


